Retexture an .i3d model
Give an .i3d model a new texture: see how its UVs lie, paint over them, and save it back.
Open it
Open File, pick Open, and choose the .i3d file along with its texture images, the PNGs its materials name. They show on the model at once, on the File preview with Textures on in the 3D View. A material with "!" in its name shows its key color clear: see Opacity maps and color keys.
Get the layout
- In the Textures section, click Hide all, then the row of the material to repaint: only its faces show, with its texture under them in the UV Layout.
- Open File, pick SVG of the UV Layout, tick Include Texture Preview, and download it: that material's layout, over its old texture.
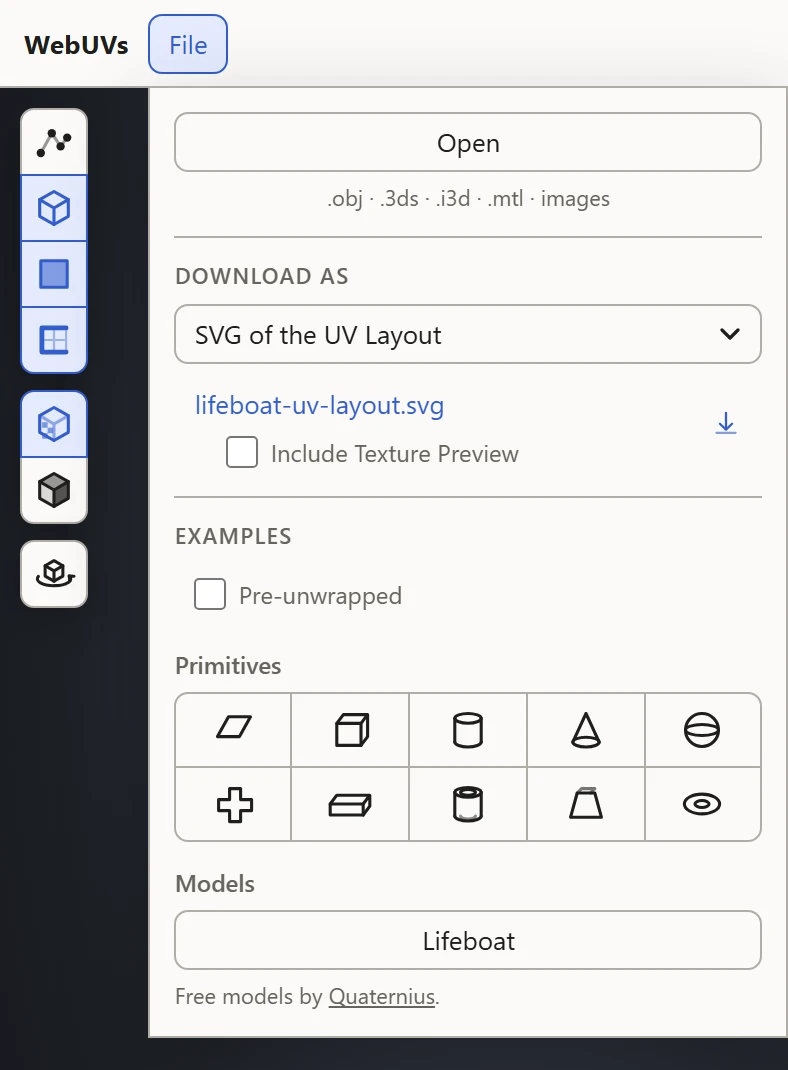
Paint
Paint the new texture over the SVG in an image editor, at the old texture's size: see Paint a texture over the SVG layout. For a material with "!" in its name, the first color of a paletted PNG shows clear, or pure black in one without a palette: paint what's to be cut out in that color.
Try it, and save it back
- Drop the new PNG onto the texture box at the right of the material's row: it takes the old one's place on the model. Turn the model to check it all round, and play its timeline if it moves.
- Change the UVs too, if it needs it: only the UV channel is saved back, everything else in the file staying as it was.
- Open File, keep its own I3D picked under Download As, and download the file. See .i3d.
The saved model still names its old texture file, so save the new PNG under that same name, beside the model.